Introduction
Like most of us, students are more comfortable and confident in a familiar environment. This makes them feel ready and more willing to learn new things. This unit encourages you to use your students’ personal experiences and the school environment as basic resources for teaching writing skills. These experiences, based on students’ familiar life-spaces, will be a good starting point for them to write descriptions of themselves and their family, their school and friends, important and interesting events in their lives, and also their feelings and emotions.
Unit outcomes
Upon completion of this unit you will be able to:
|
Outcomes |
|
Terminology
|
Terminology |
Active vocabulary: |
Active vocabulary comprises words and phrases that one uses regularly in one’s speech and writing. Passive vocabulary, on the other hand, describes the vocabulary that one recognises and understands in other people’s speech and in writing, but does not use oneself. |
Autobiography: |
An autobiography is a written account of somebody’s life written by himself or herself. |
|
Narrative: |
A piece of written or oral text that describes an event in a chronological order. A narrative usually has a clear beginning, middle and end, and may include conversations and descriptions. Stories, novels and ballads are all examples of narratives. |
Teacher support information
The activities in this unit will help you as a teacher to help your students to write authentic texts such as descriptions and diary entries using your students’ knowledge about themselves, and their home and school environments. This will provide a familiar context to more easily motivate them to practise their writing skills. Resource 1: Using group work in your classroom will assist you in planning and facilitating your students’ active participation and learning through group activities.
Case study: Writing descriptions
|
Case study |
Mr Amani Hamis, Mr John Katale and Ms Sara Samson are teachers at three different secondary schools in Tanzania. Recently, the three teachers participated in a professional development workshop on teaching English. One of their assignments involved working on a group mini-project on teaching effective writing to students who are in their early years of secondary education. The group members discovered that they had all been using the students’ familiar contexts in designing writing assignments. They agreed that describing people, events, things, emotions and situations always stimulates students’ interest in writing lessons. They decided to brainstorm on the activities that assisted them in their teaching. Mr Hamis described the strategy he used. At the beginning of the activity, he usually did a “show and tell” routine. He asked the students to bring to the class something they wanted to describe. Each student showed his or her item and described it. Meanwhile the teacher wrote on the board the keywords used by the students in the description. A different student would then be asked to write a description of the object using those words. The students were then encouraged to put their descriptions on the display board. Sara and John used similar strategies in their classrooms, but since their class size was bigger, both preferred putting students in groups for this activity. In their groups, students would be asked to decide on an object to describe. Each group member then wrote a sentence describing the object. The group sequenced the sentences and edited them, and one group member presented the final description. John added that, to encourage healthy competition, he had the class judge the presentations, and the best two descriptions were displayed in the class every week. When the teachers presented their group report, the workshop participants agreed that this was a good way of motivating students to communicate spontaneously. They suggested, however, that the teacher needed to intervene before the presentations were displayed, so that students learned how to edit their written work for grammar and style. |
|
Points to ponder |
|
Activities
Activity 1: Describing a person
|
Activity 1 |
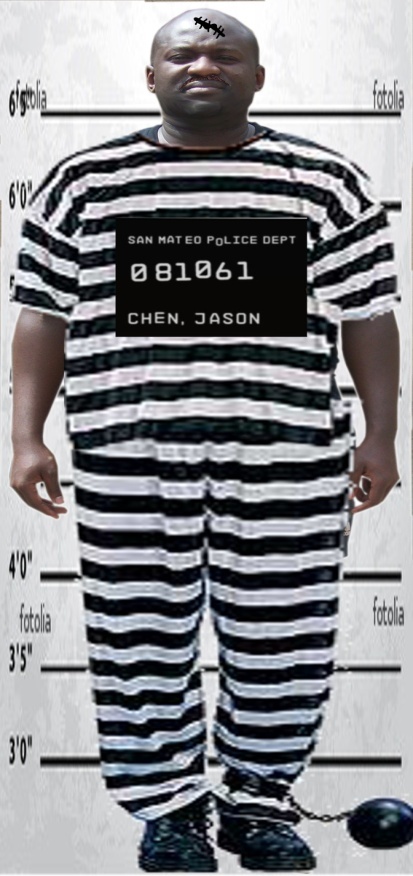
Hand your students a sheet with pictures of two people on it (see Resource 5). (If you have access to an overhead projector, you can put the pictures on the screen instead.) Tell them that one of the people in the picture has escaped from jail, and the police are looking for him. Have a general discussion on what each person in the picture looks like, so that they can be described accurately to the police. Practise key vocabulary related to physical features (Resource 4). Now ask the students to listen carefully to the description of the prisoner in the news report in Resource 3, and then identify him from the photographs in Resource 5.
Now put your students in pairs and announce that they are going to play a guessing game. They are to write a description of their partner. Instruct them not to write down the name of the person they are describing, as the game is to guess the person from the nameless description. Tell them their descriptions will be collected and jumbled up, and then you will read each one aloud. The class has to identify the classmate described. The more accurate the description and the sooner the person is identified correctly, the more points the writer is awarded. As an incentive, you could announce that there will be a prize for the most accurate descriptions. To prepare for the task, tell the students to use words from the list in Resource 4. Remind them that their descriptions should contain information about their partner’s general height and build, and also details of their face, and any other noticeable marks, such as a birthmark. Ask the students to edit their work. Advise them to use a dictionary to check the spellings of words that they are not sure of, and to make any necessary corrections. |
Activity 2: Writing about memorable events: Writing a narrative
|
Activity 2 |
We all have events we remember because they were exciting, interesting or appealing to us; they may be historical, cultural, scientific or topical. In this activity, students will learn how to write a narrative passage on events of their choice. As a pre-task activity, show the students the video in Resource 6. Then ask them to narrate from memory the sequence of the events described. Play the video once more to let them check that they can narrate the events in the correct order and with all the details. Draw their attention to linkers such as firstly, then, after that, meanwhile, in the end and so on. Explain that these linking words are like signposts, helping the reader to move through the passage easily. They also help to keep the reader interested in following the events.
|
Activity 3: Talking about ourselves: Writing a diary entry
|
Activity 3 |
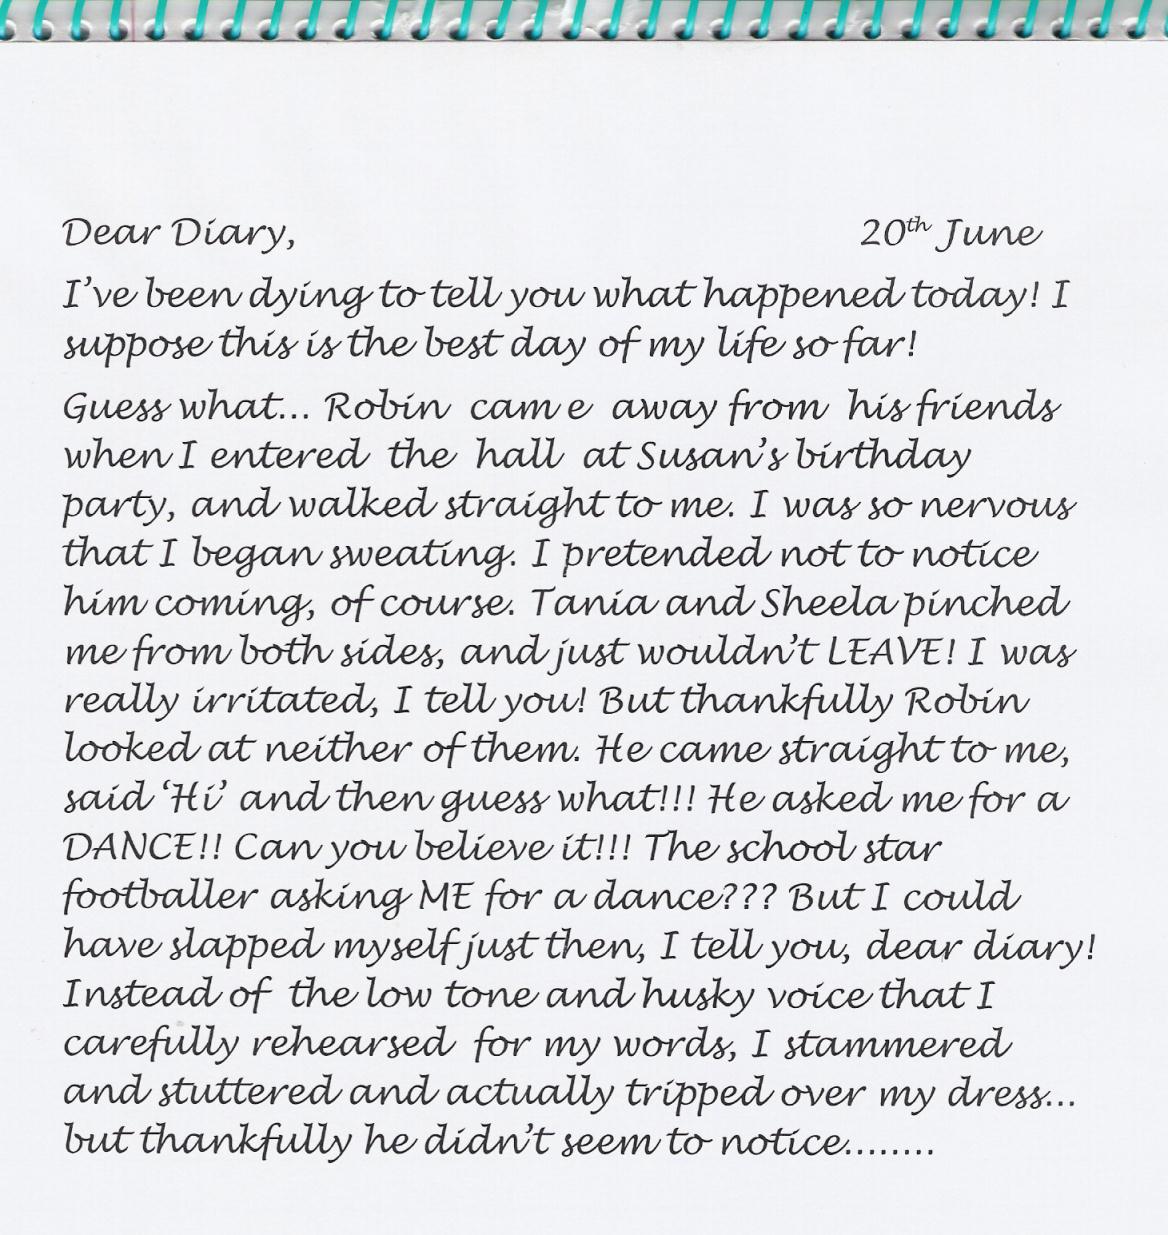
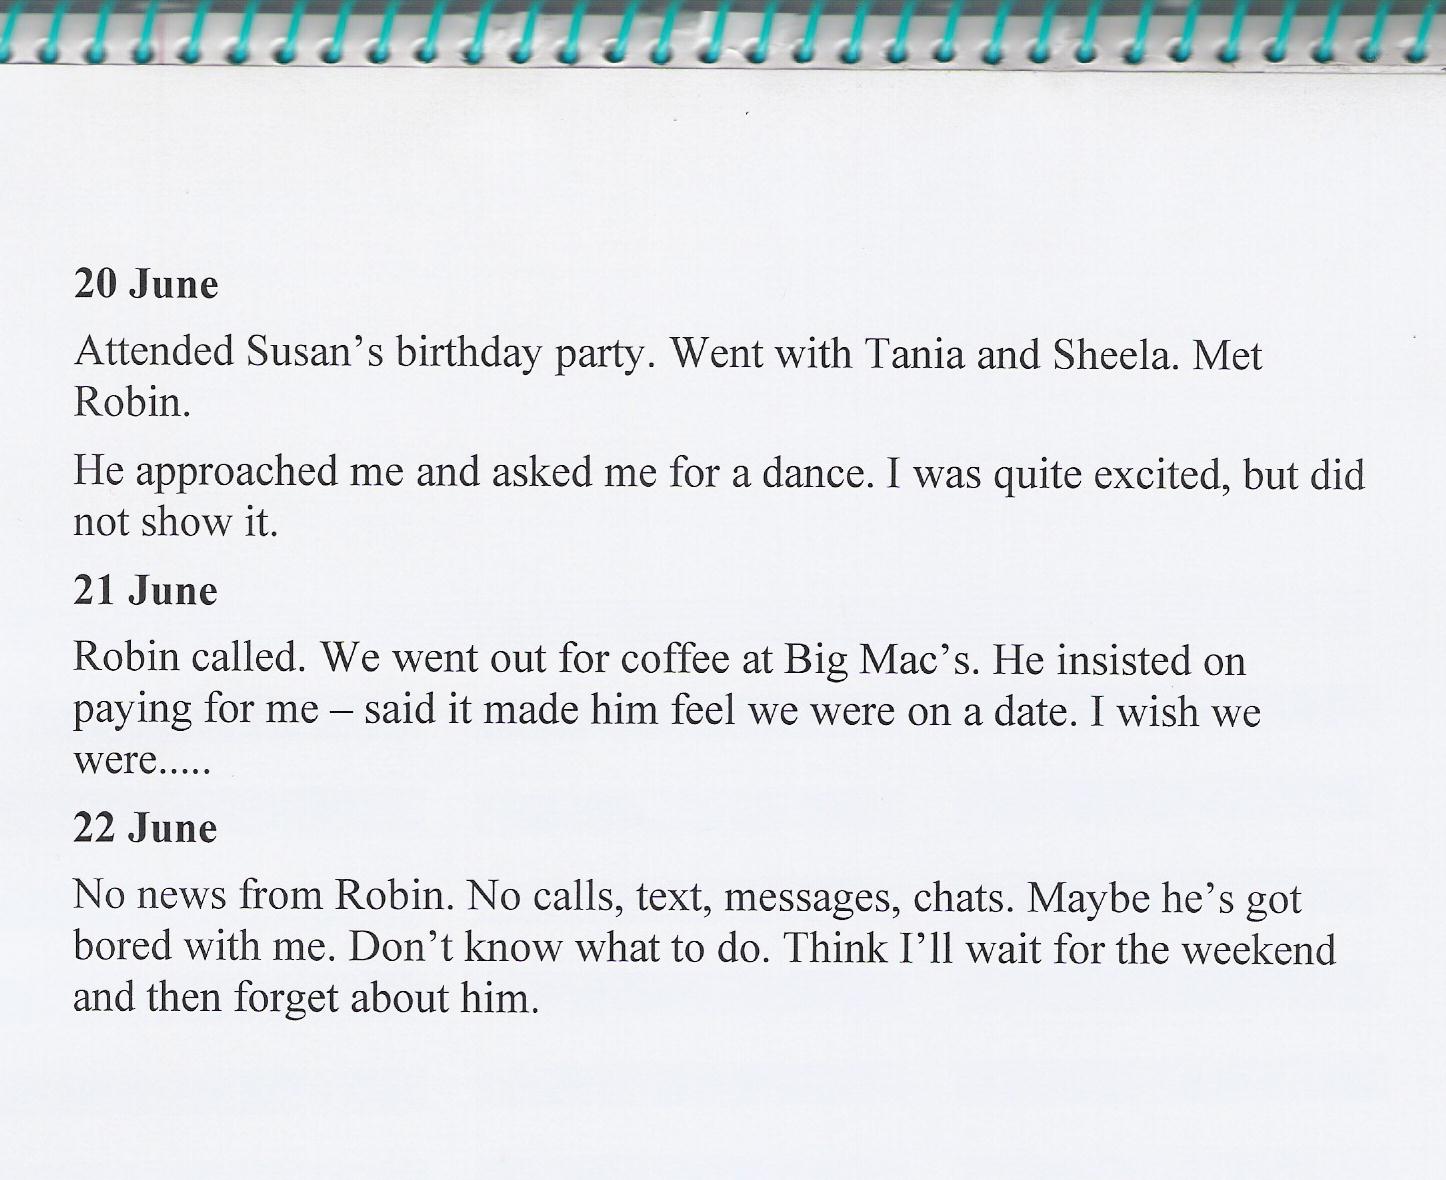
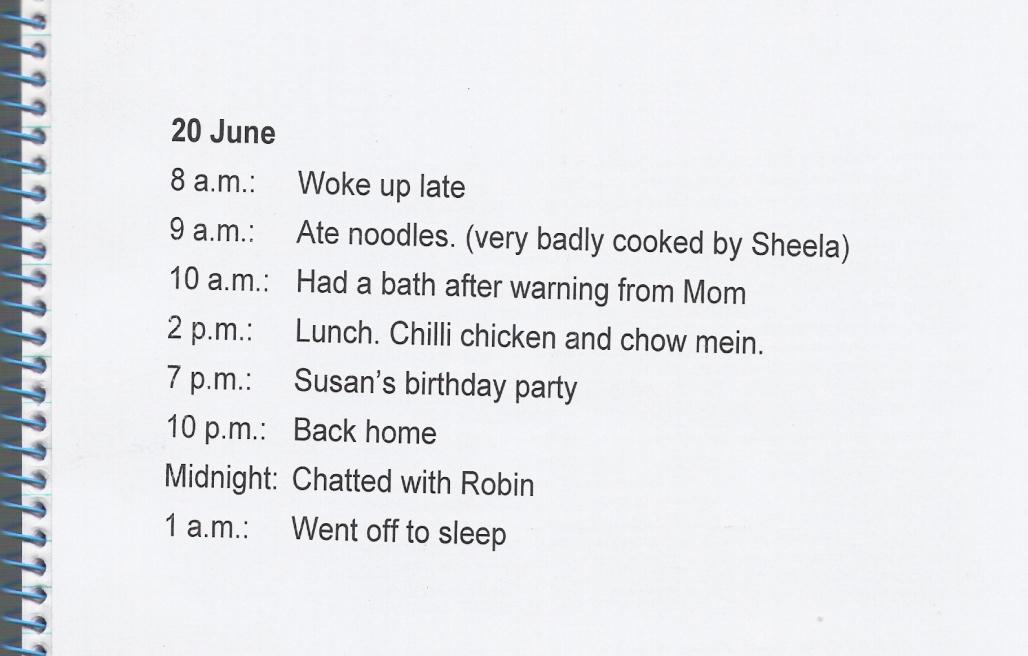
One activity that appeals to all of us is talking about ourselves. Keeping a diary is a good way of recording our personal experiences. A diary is different from a journal entry or a log, because it is not a mere record of events. In a diary we express our innermost thoughts and feelings. At the JSS level, students are entering adolescence, which is a stage of life in which they are naturally self-absorbed. As teachers, we can use this factor to encourage students to practise their writing skills through diary entries.
|
Unit summary
|
Summary |
In this unit you learned how to use the experiences and local context of your students to teach writing skills, and that description can create a familiar context upon which students can base their writing. Group work can be a good way to manage large classes. Always check students’ spelling and grammar at the end of the exercises. |
Reflections
|
Reflection |
|
Assessment
|
Assessment |
|
Resources
Resource 1: Using group work in your classroom
|
Resource 1 |
What group work does Group work can be a very effective way of motivating pupils to learn by encouraging them to think, communicate, exchange ideas and thoughts, and take decisions. In groups, pupils can both teach others and learn from each other in ways that result in a powerful and active form of learning. When to do group work Group work can be used:
Introducing the group work: Once pupils are in their groups, explain that working together to solve a problem or reach a decision is an important part of their learning and personal development. From: KR_HO_Using_group_work_in_your_classroom.doc (http://www © This work is licensed under a Creative Commons Attribution-Share Alike 3.0 License |
Resource 2: Using brainstorming/mind maps
|
Resource 2 |
What is brainstorming? Brainstorming is a group activity that generates as many ideas as possible on a specific issue or problem, then decides which idea(s) offer(s) the best solution. It involves creative thinking by the group to think of new ideas to address the issue or problem they are faced with. Brainstorming helps pupils to:
How to set up a brainstorming session: Before starting a session, you need to identify a clear issue or problem. This can range from a simple word like ‘energy’ and what it means to the group, or something like ‘How can we develop our school environment?’ To set up a good brainstorming session, it is essential to have a word, question or problem that the group is likely to respond to. In very large classes, questions can be different for different groups. Groups should be as varied as possible in terms of gender and ability. There needs to be a large sheet of paper that all can see in a group of between six and eight pupils. The ideas of the group need to be recorded as the session progresses so that everyone knows what has been said and can build on or add to earlier ideas. Every idea must be written down, however unusual. Before the session begins, the following rules are made clear:
Running the session The teacher’s role initially is to encourage discussion, involvement and the recording of ideas. When pupils begin to struggle for ideas, or time is up, get the group (or groups) to select their best three ideas and say why they have chosen these. Finally:
What is mind mapping? Mind mapping is a way of representing key aspects of a central topic. Mind maps are visual tools to help pupils structure and organise their own thinking about a concept or topic. A mind map reduces large amounts of information into an easy-to-understand diagram that shows the relationships and patterns between different aspects of the topic. When to use a mind map
How to make a mind map
From: TESSA Key resource: Using Brainstorming/Mind-maps Technique (www.tessafrica.net). © This work is licensed under a Creative Commons Attribution-Share Alike 3.0 License |
Resource 3: A reporter’s story
|
Resource 3 |
Transcript A notorious thief escaped from Central Jail last night through a hole in a broken part of the old wall, Police Commissioner Smith informed our correspondent. A red alert has been sounded in the city, and the public has been warned to keep their doors securely locked at night. A reward of 50,000 dollars has also been announced for any information on the escaped convict, who has been identified as Anthony Carlos. When he escaped, Anthony was in prison uniform. Here is the official description given by headquarters to our news desk. Anthony is about 5 feet 2 inches tall, with a round face, bulging eyes and a broad nose. He is about 35 years of age, bald and with a long scar across his forehead. He also has a thin moustache. The public has been requested to inform the police immediately if the thief is seen in their locality. The emergency numbers 100 and 101 will be open for the public 24 hours a day, police sources added. |
|
Video |
Resource file
See in the enclosed DVD a video recording of the activity:
|
|
Audio |
If you have trouble playing the video, you can have your students listen to the audio recording (below) of the same conversation:
|
Resource 4: Common terms for describing physical features
|
Resource 4 |
Face: round/oval-shaped/square/pointed/triangular/ Hair: straight/wavy/curly/silky/shoulder-length/bald/ thinning/grey/pepper-and-salt Eyes: round/almond-shaped/small/large/soft/bulging/narrow/ Complexion: fair/dark/dusky/light/rough/pale/sallow/sickly Nose: sharp/pointed/broad/small/flat/thin/large/hooked/flaring nostrils Other marks: mole/birthmark/scar/spot Body shape: thin/slim/stout/overweight/fat/angular/V-shaped Lips: thin/shapely/broad/bow-shaped/wide/pouting/full/ cracked |
Resource 5: Photographs of two men
|
Resource 5 |
 |
 |
Resource 6: News report on accident
|
Resource 6 |
Transcript Good morning! Here are the news headlines for today. First, the national news. In our next section, we have a report coming in from Westlands. Four people perished in a grisly car crash along Waiyaki Way when a saloon car collided with an oncoming lorry in the wee hours of this morning. Our reporter Amos Kubai has more on that… …Traffic was brought to a standstill for several hours when a saloon car heading to town collided with a lorry along Waiyaki Way, killing all four passengers on board. According to eye witnesses, the lorry belonging to a city dairy company lost control and then swerved onto the wrong lane, ramming into the saloon car. After the accident, the lorry driver and his turn-boy, who were unhurt, took off and the police are still on their trail. Incidentally, this is the third accident to take place along the route this week. Previous incidents, 15 people lost their lives, including seven members of the same family. Meanwhile, Nairobi area traffic commandant Alfayo Muthee has called on all road users to adhere to the highway code and to also ensure that their vehicles are in good working condition to avoid road carnage. Amos Kubai reporting for News 54 in Nairobi. |
|
Video |
Resource file
See in the enclosed DVD a video recording of the activity:
|
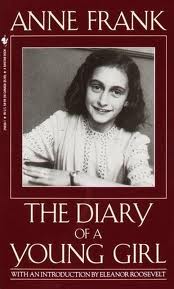
Resource 7: Anne Frank: The Diary of a Young Girl
|
Resource 7 |
 |
Resource 8: Sample diary entries
|
Resource 8 |
Sample 1
Sample 2
Sample 3
|
Resource 9: Guidelines on diary entries
|
Resource 9 |
|
Teacher question and answer
|
Feedback |
Question: In a large mixed ability class, when students are working in groups, how do I make sure that the slower learners are benefiting? Answer: Make sure that the groups reflect the nature of your class. Groups should also be of mixed ability to ensure that the faster learners are assisting the slower ones. During group work make sure you move around to observe the participation in each group. Insist that every group member contribute at least one point to the discussion. When you pick some students’ work to read, make sure that you pick from students of varied abilities. |
 |
 |


